HomeBlogBlogHandheld Milk Frother for Silky Lattes at Home & Travel

Handheld Milk Frother for Silky Lattes at Home & Travel

Handheld Milk Frother for Silky Lattes at Home & Travel

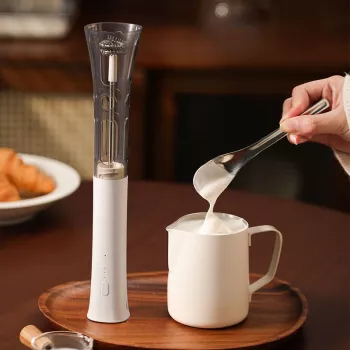
Portable Electric Milk Frother Handheld Coffee Whisk for Home and Travel Use

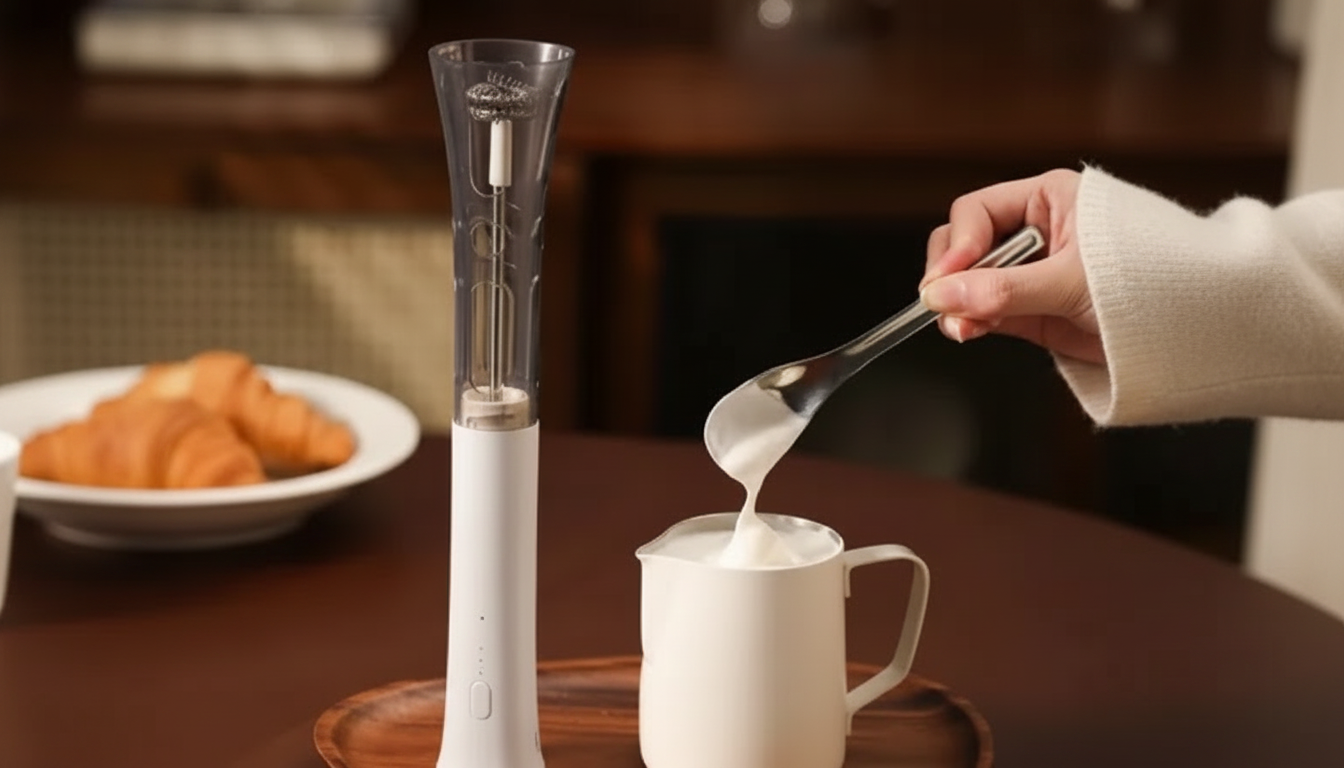
A handheld electric frother is a simple way to get café-style foam and smooth mixes without committing to a bulky countertop machine. Whether you’re dialing in a latte at home, stirring up matcha before a meeting, or upgrading hotel-room coffee, a portable whisk frother is built for quick, small-batch jobs—fast, convenient, and easy to stash in a drawer or toiletry bag.

Below are practical, real-world tips for choosing and using a handheld frother, plus routines for packing, cleaning, and getting consistently silky foam.

What a handheld electric frother is best for

  • Creating light foam for lattes, cappuccinos, and hot chocolate in minutes.
  • Mixing powdered drinks and supplements smoothly (matcha, protein, cocoa) with fewer clumps.
  • Emulsifying small batches of sauces and dressings when a full-size blender is overkill.
  • Improving results when paired with warmed milk and a controlled pouring technique.
  • Handling small, quick tasks rather than large-volume frothing for multiple drinks at once.

If you’re already familiar with coffee standards and drink styles, the Specialty Coffee Association (SCA) is a helpful reference point for understanding how texture and consistency impact the final cup.

Key features that matter for home and travel

  • Power and speed: higher speed typically builds finer foam faster and reduces large bubbles.
  • Ergonomics: a comfortable grip and a stable on/off control help prevent splashing—especially in smaller mugs.
  • Whisk head shape: tighter coils often generate foam quickly; durability matters if you’re packing it often.
  • Portability: a compact body is easier to store in a desk drawer, small kitchen, dorm, or suitcase.
  • Noise and vibration: relevant for early mornings, shared rooms, and hotel use.
  • Battery and charging approach: consider whether it uses replaceable batteries or rechargeables, and plan travel packing accordingly.
  • Build quality: a straight, stable shaft helps avoid wobble, uneven mixing, and extra vibration.

Quick-start: how to froth milk without splatter

  1. Choose the right cup: use a tall, narrow mug or a small frothing pitcher to contain movement.
  2. Warm the milk first: warm (not boiling) milk usually produces richer foam; cold milk can work, but often looks thinner.
  3. Start submerged: place the whisk head fully under the milk before switching on.
  4. Build texture, then volume: keep the whisk centered, tilt slightly, and gradually raise it toward the surface to introduce air.
  5. Watch the finish: stop when the foam looks fine and glossy rather than large and airy.
  6. Tap and swirl: tap the cup gently on the counter and swirl to tighten bubbles before pouring.

Getting better foam: milk choices and drink styles

Milk chemistry matters. Protein helps trap air, and fat adds a creamy mouthfeel—so different milks can change your results even with the same technique.

  • Whole milk: often yields richer, more stable foam due to a balanced fat/protein profile.
  • Lower-fat dairy: can foam well, but may feel lighter and less creamy.
  • Barista-style oat and soy: many are formulated to foam better and pour more smoothly than standard cartons.

Dialing in cappuccino-style foam

After you start submerged, bring the whisk closer to the surface sooner and hold it there to incorporate more air and build a thicker cap.

Dialing in latte-style microfoam

Keep the whisk slightly deeper to focus on texture rather than maximum volume. Aim for fine bubbles and a glossy look that pours cleanly.

Beyond coffee: fast mixes the frother handles well

Travel-friendly packing and daily-use habits

Cleaning and care for a longer-lasting frother

For general consumer-safe kitchen habits, the U.S. Food & Drug Administration provides practical food safety reminders that also apply to cleaning drink tools and small appliances.

At-a-glance checklist for choosing a portable frother

Feature Why it matters Tip for use
Tall cup compatibility Reduces splatter and helps build a vortex Use a narrow mug or small pitcher when possible
Whisk stability Improves texture and prevents uneven mixing Replace bent whisk heads promptly if wobble increases
Easy cleaning Prevents buildup and odors Spin in warm soapy water, then rinse and dry
Portable storage Protects the coil during travel Store dry in a pouch or protective sleeve
Control simplicity Less fumbling with wet hands Turn on only when the whisk is submerged

Product option for home and travel use

If you want an easy add-on for a coffee corner, dorm setup, office drawer, or weekend bag, the Portable Electric Milk Frother Handheld Coffee Whisk for Home and Travel Use is designed for quick foaming and fast mixing without a full espresso machine. Pair it with a tall mug or small frothing pitcher for cleaner results and more consistent texture.

Small upgrades that pair well with a coffee corner

FAQ

Can a handheld frother make foam with non-dairy milk?

Yes—results vary by brand and formulation. Barista-style oat and soy options typically foam better; warm the milk and keep the whisk just below the surface to build finer bubbles.

How do you clean a handheld milk frother quickly?

Rinse immediately after use, then spin the whisk in warm water with a small drop of dish soap, rinse again, and dry thoroughly. Avoid submerging the motor housing.

Why is my foam large and bubbly instead of smooth?

This usually happens when you introduce too much air too early, use a wide cup, or froth very cold milk. Start with the whisk submerged in a tall cup, warm the milk, then finish with a gentle tap-and-swirling step to tighten bubbles.

Was this article helpful?

Yes No
Leave a comment
Top

Shopping cart

×